Rerurn to Romy the Cat's Site
In the Forum: Horn-Loaded Speakers
In the Thread: Macondo’s Midbass Project – the grown up time.
Post Subject: The back chambers are done.Posted by Romy the Cat on: 9/17/2010
fiogf49gjkf0d
OK, now I am happier as I did my duty and the back chambers are ready to be attached to the horns and to be lifted up. Yesterday I spent 5 hours trying to build the back chamber displacement that Jessie and my carpenter recommended me. I bought the 2 large sheets of 2” foam, cutting it on table saw and by foam cutter. I was able to make a fine displacement but then I asked myself how effective was it. If you remember when I was experimenting with resonant frequency in basement I was taping the entire back of the horn and it was where I was able to get the rise of the resonant frequency that I was needed. The displacements that I built allowed a bit more air around the driver. I measured resonant frequency in the driver with and without displacement. It was 4Hz difference - obviously not enough. I re-did the displacement to make it as tight as I could but surprisingly it did not affect the resonant frequency rise.
I was in near panic mode as it was 6PM and I have no solution to finish my back chambers and I have only a day left. Probably if I had softer foam then it would be possible to press the foam to the driver but I had relatively hard pink Owens Corning phenoplast. I decided that there is no way to do it properly without going directly to the driver.
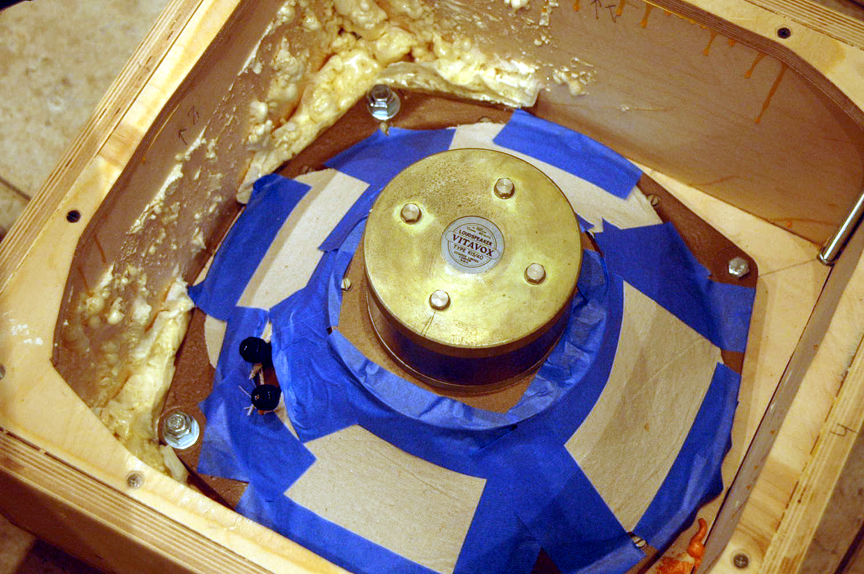
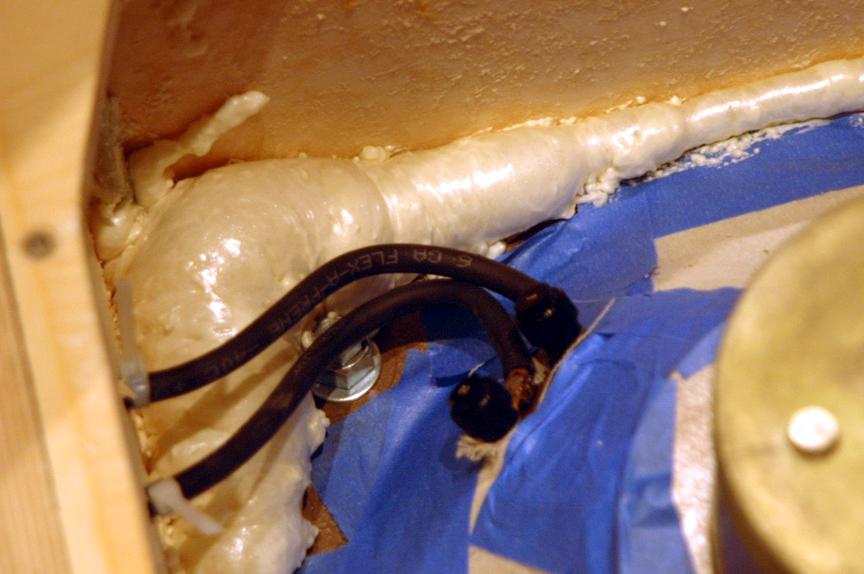
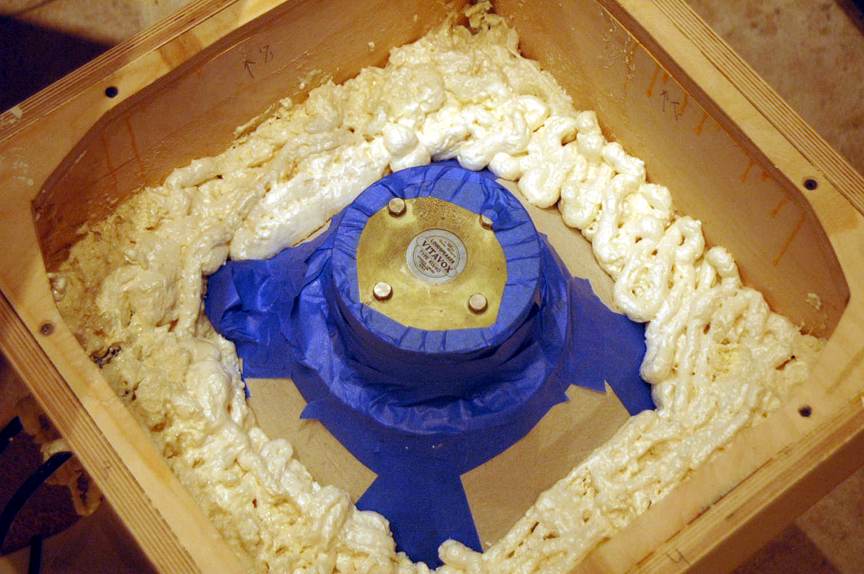
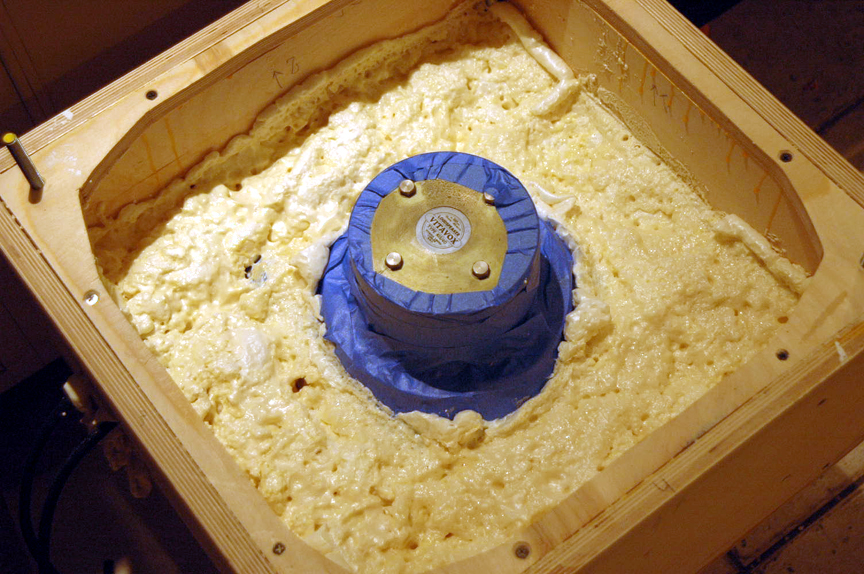
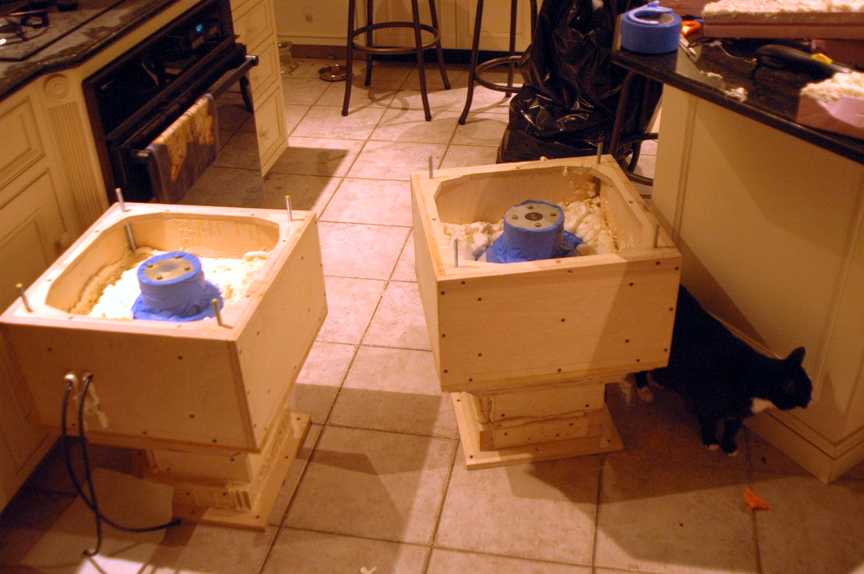
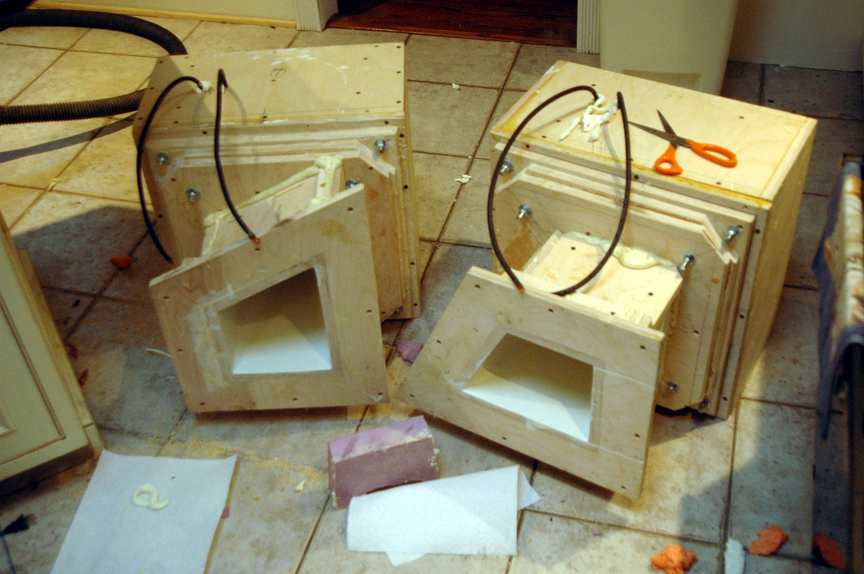
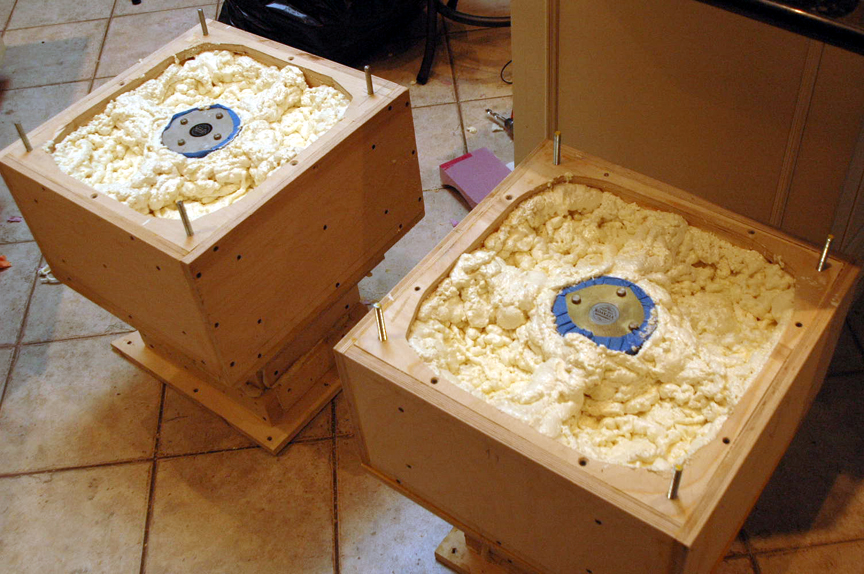
At that time I learn the spay foams that I use relatively well – I knew how it expends and how it cures. So, I covered the basket vents with very thick fabric, the driver with masking tape and begin to apply the foam directly to the driver. This time I did it one thin layer of foam a time with 40 minutes delay between the layers. Between minute 5 and 10 of foam curing I used hard surfaces to punch foam down in order it to fill all inner gaps. I did it pretty my up to 5AM, with both horns and it looks as it worked very well. The foam built a true sarcophagus around the drivers, converting my 15-40 to a true compression driver. The resonant frequency on the driver in sarcophagus is 67Hz – much heir rise than it was with phenoplast displacement (54Hz). To remove the driver for this type of displacement will be a bit more difficult but not impossible – foam is very easy to cut with knife. My only fear was the foam might push the fabric out and touch the driver cone. I made some precisions, like let the layers that fill the fabric to dry longer and do not puck them down to hard. I still have no 100% assurance that it did not happen. I hope not as the distance from the basket window to the diaphragms is large. Also, I did the drivers sweep and Fs measurements. The sweeps is clear and the Fs are identical. I presume if one of the cones would be touched by foam then it would impact resonant frequency very dramatically.
Now some considerations. I do not share the Scooter’s and jessie’s fear about the toxicity of petro-based products. Yes, petro-based products are not good near driver but I do not think that I spayed driver with gasoline. I did a test and confirm that foam doe not penetrate the fabric I used. Foam does not make it soggy or wet. I used fabric from think tarp. Foam does not have fume or gas and when it cures it absolutely inert to any organic things. It is not to mention that the cone was under the foam (in case of fume) and separated with very thick fabric. So, I do not think that any damage or impact was done to driver. I think that sitting form years in weather non-stabilized storages might make more damage to it. Of course you never know, but I do not think that 10 min proximity to uncured polyurethane foam did anything to the driver diaphragm.
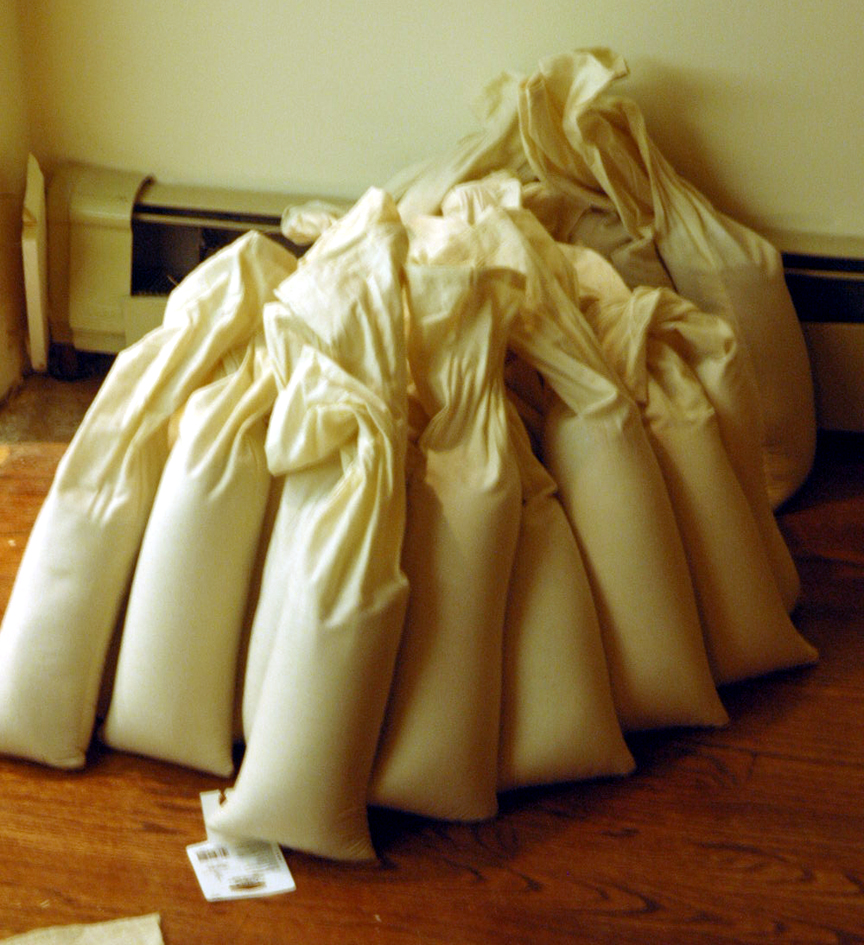
Anyhow, now the back chambers are done and the 40 bags of sand (300 pounds) are prepared to be loaded to the horn’s top. We are back on the schedule. When the horns will be installed I will fine-tine the Fs by pocking the small holes in the foam.
Rerurn to Romy the Cat's Site